
The latest release of Wyse Management Suite, 3.6, is out! I put together a brief summary of the installation process if installing locally on a Windows 2019/2016/2012 server. Alternatively, WMS can also be run as a hybrid cloud solution as noted here. Enjoy!
You can download Wyse Management Suite v3.6 from here along with documentation and release notes here.
- Launch the installer, WMS_3.6-xxx.exe and click ‘Next’ to begin

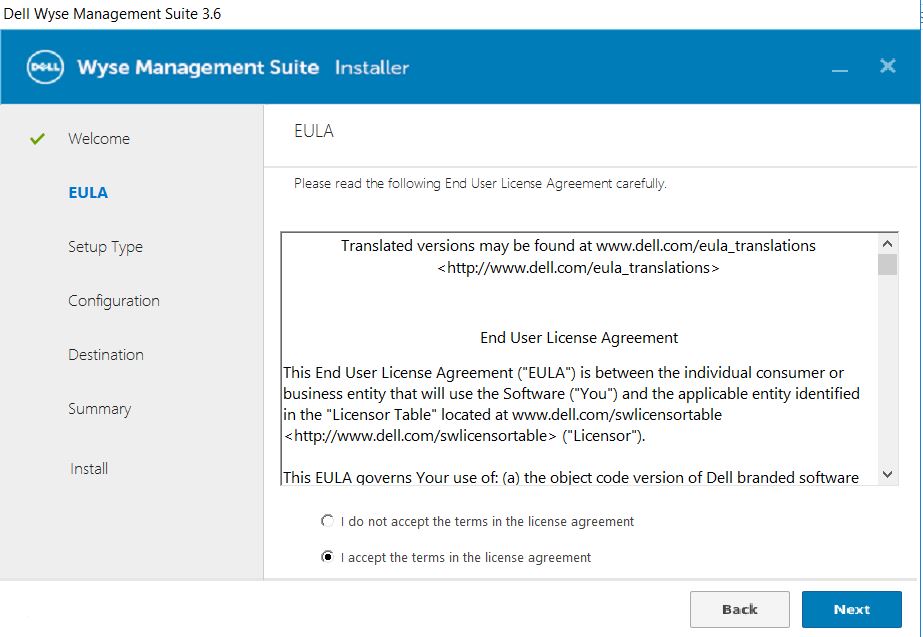
2. Accept EULA and click ‘Next’
3. Choose Typical or Custom and be sure to check off ‘Turn off IE Enhanced Security Configuration’ then click ‘Next’. I selected Typical for this standard install.

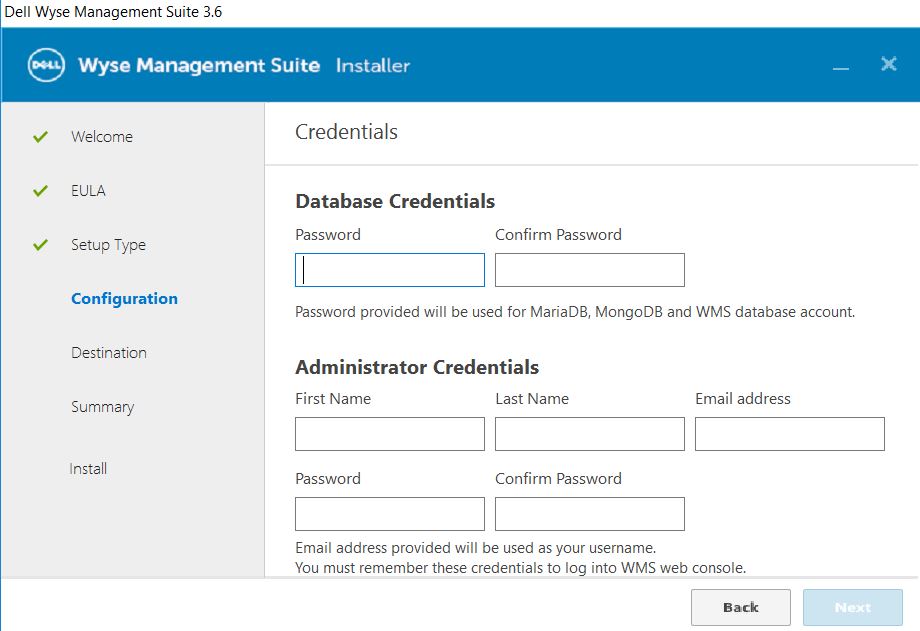
4. Provide credentials for both database access and administrator credentials. Note: The administrator credentials will be the login credentials you’ll use to log into the WMS console.
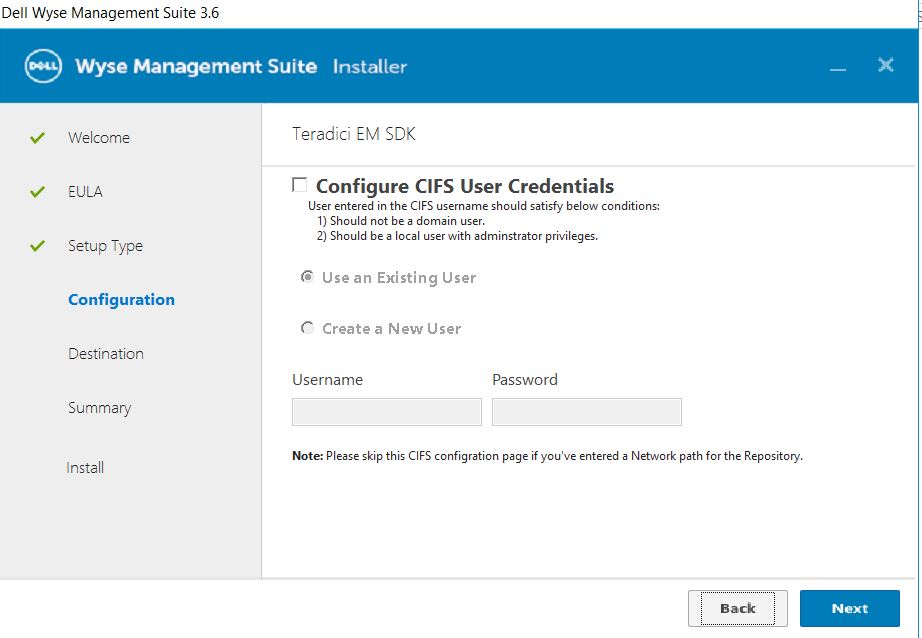
5. I clicked ‘Next’ past this section as it’s specific to using Teradici zero clients which I’m not using. If you are, see more info at page 15 here
6. Select an option to create the WMS service account from the below options.

7. Provide credentials for the Software Vault as noted below.

8. Click ‘Next’ to accept the default security configuration

9. Select the installation and repository location as noted below

10. Once you click ‘Next’, the installation will start!!

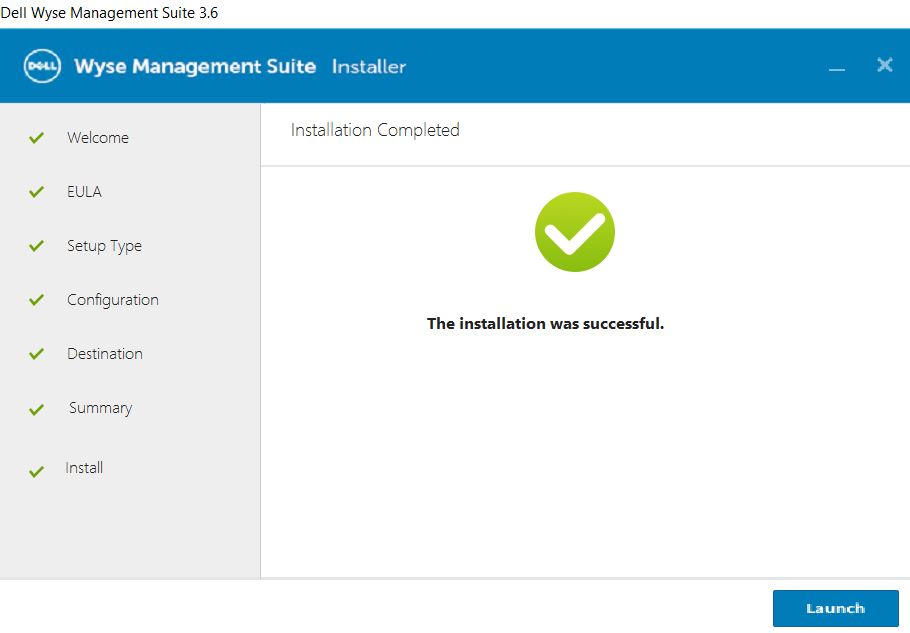
11. Once install finishes, click ‘Launch’ at the end and a wizard will finalize the install. You can see more of these final steps here starting at Step 14.
Additional Resources:
- Wyse Management Suite download here
- Wyse Management Suite documentation here
- Excellent Dell Wyse community located here
- Dell Community forums for Wyse Management Suite (WMS) here
@chris_messier ~~> Subscribe to blog to get latest updates <~~
