As you might know, Microsoft Intune has quickly become one of the most popular management tools for a managing a companies fleet of devices. Dell recognizes this and has continued to work to integrate and add new tools that integrate directly within Intune so management is done through that single pane of glass.
One of new management features recently launched is called Dell Command – Endpoint Configure for Microsoft Intune!
This allows you the ability to manage & deploy Dell client BIOS settings directly within your Intune portal. You basically deploy the Endpoint Configure application to the client, create a BIOS configuration package and upload that to Intune. Once configuration is in Intune, you can then create the device configuration policy to deploy out to the devices as needed.
Here is a quick overview of what the process looks like;

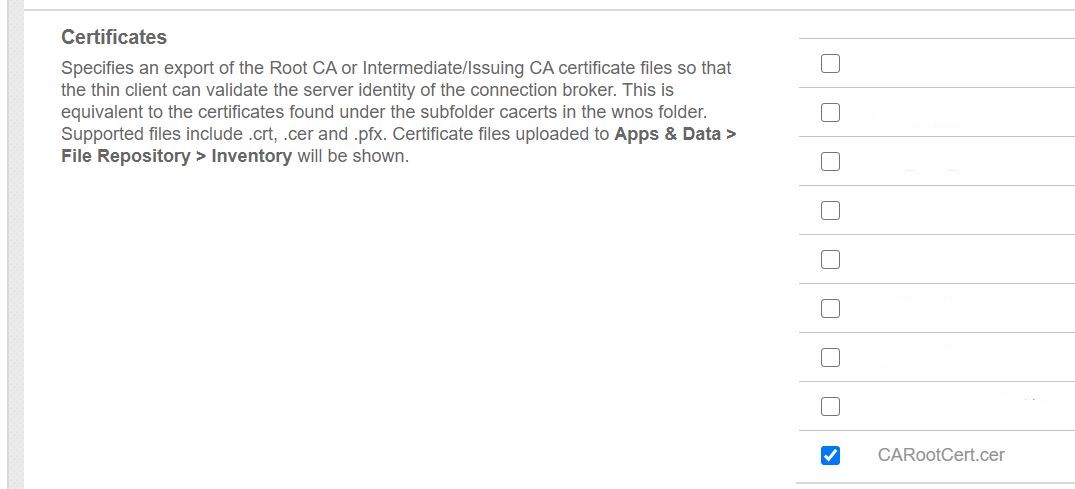
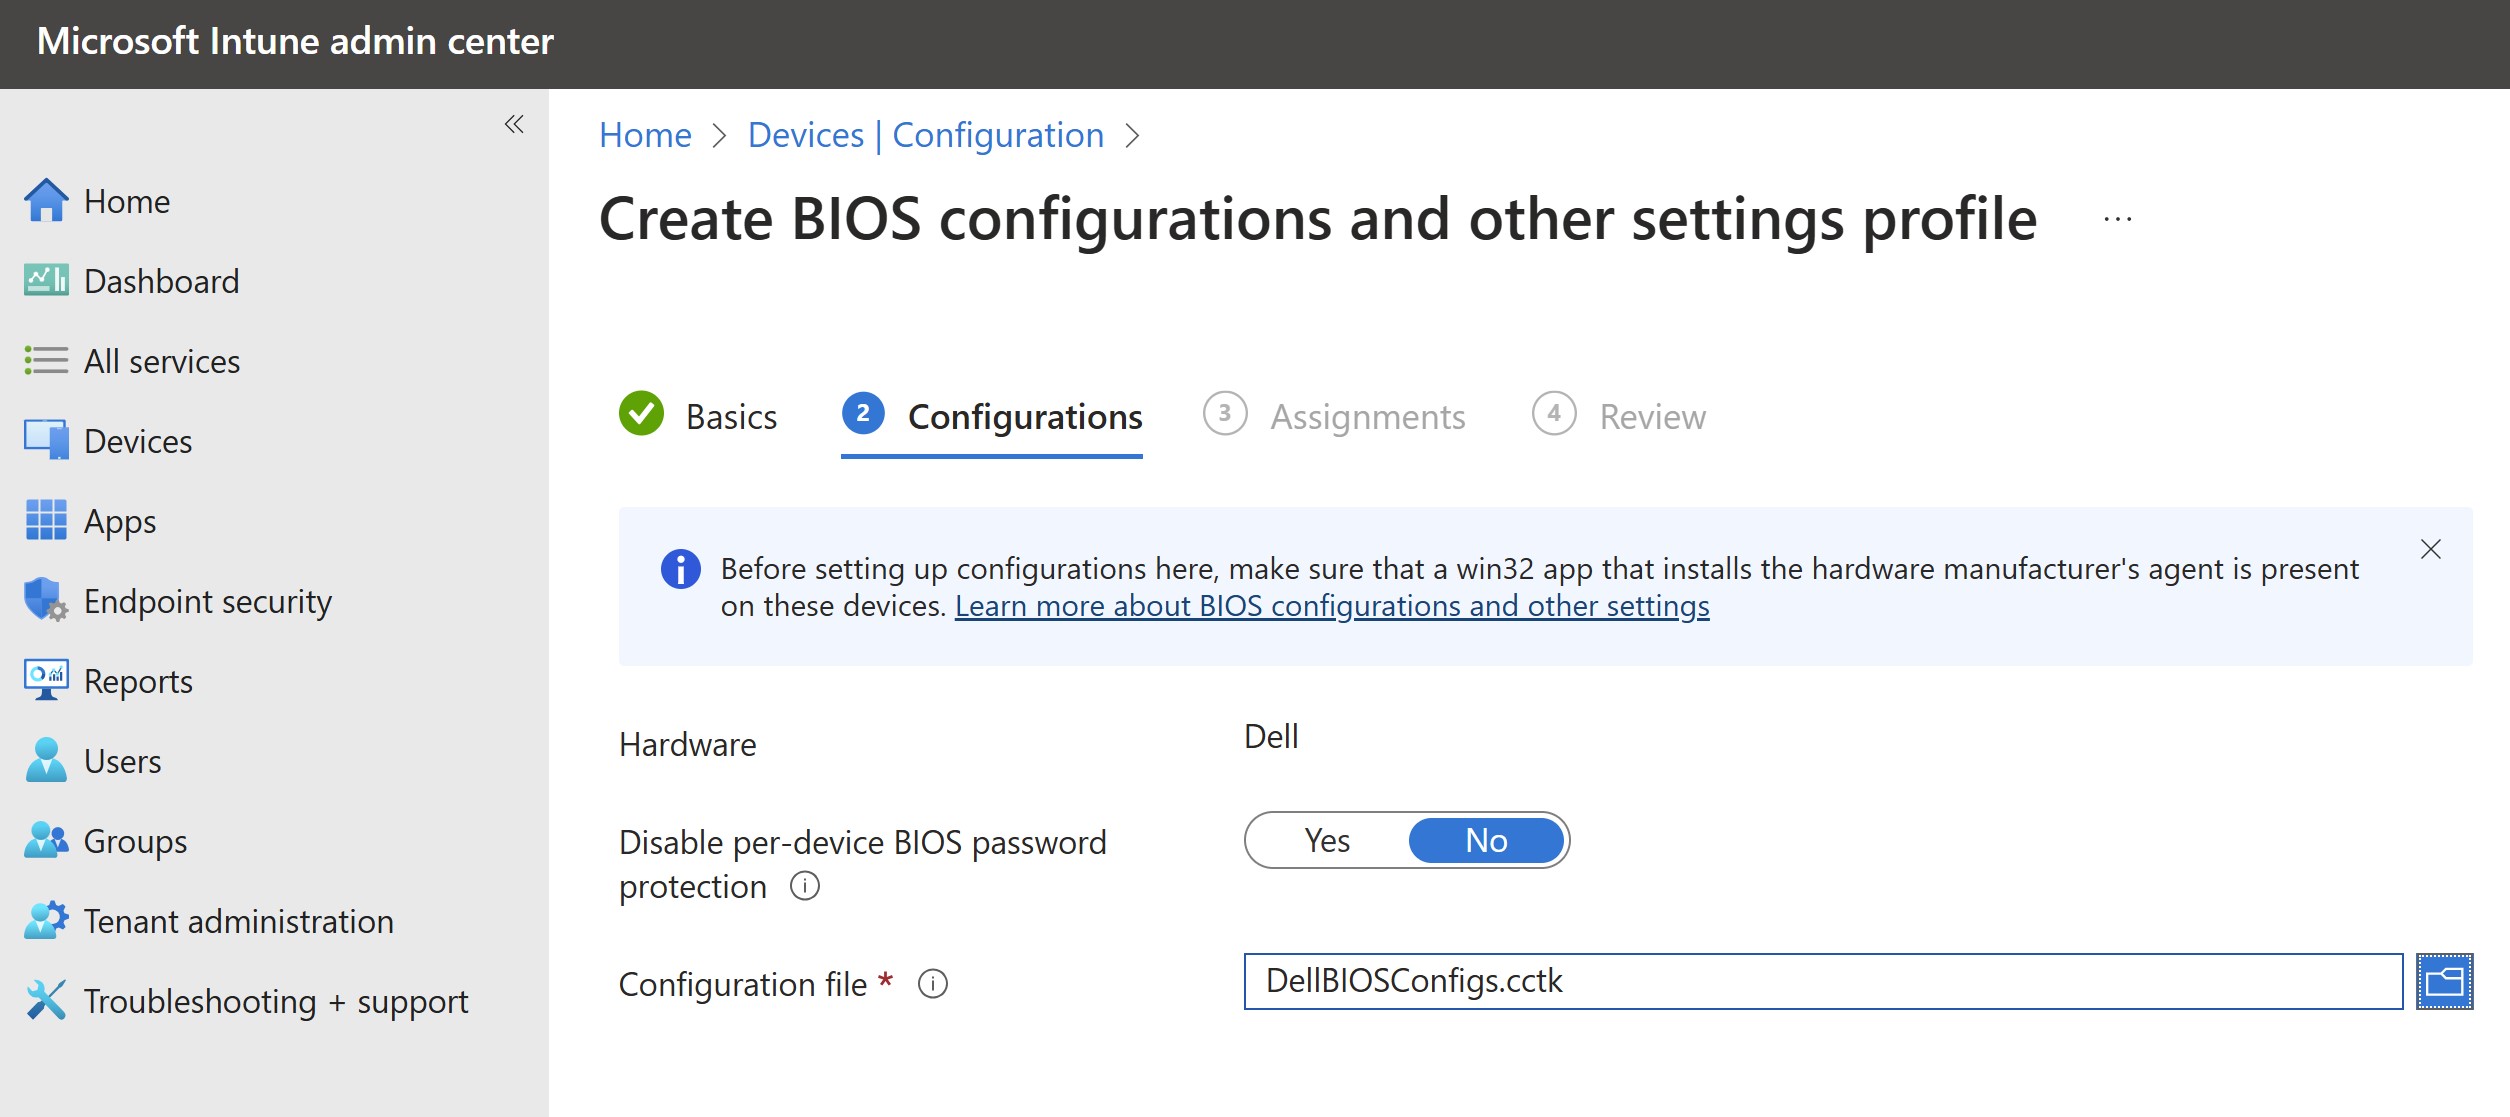
Here are couple screen shots of what the configurations look like;
- Create new Device Configuration Policy

2. Import the .cctk BIOS configuration file you create with Dell Command Configure tool
3. Add your group assignements

4. Review your settings

5. Your configuration is complete

6. As you fine tune and make changes to your configuration, you can edit the policy as needed

To wrap up, I wanted to include the documentation to set this up along with additional resources below.
My colleague did a great video of the setup and deployment which you can check out below
Dell Command Endpoint Configure for Microsoft Intune. Custom BIOS and Custom Settings
Documentation & Support
- Download Command Configure application & documentation here to create BIOS file package
- Download the Endpoint Configure application here which is installed on the PC and applies the Intune configuration
- Get installation guide & user guide for Command Configure here
- Get installation guide, user guide and security configuration guides for Endpoint Configure here
- Dell Community support forums here
Hope you enjoyed!! Let’s connect & subscribe to blog to get latest updates!
-Chris
~~~> Subscribe to blog above to get latest updates!! <~~~