The use case and concept of repurposing old PC’s into thin clients has been around for a long time and a relatively new kid on the block is using Dell ThinOS to convert those old PC’s!
For years, customers have loved and always asked about using Dell ThinOS to convert an old PC/laptop hardware with Dell ThinOS and the answer was – no, not yet.
Over the years Wyse & Dell had some Linux and Windows based conversion solutions but we were always asked about using Dell ThinOS to do this. Well, now you can! Whether you want to connect to Citrix, Microsoft AVD, Omnissa, Windows 365, etc.. Dell ThinOS may be a good fit!
The benefits of repurposing old PC’s is well documented with these often being cited as some key benefits;
- Extend life of existing hardware
- Save money
- Improve security
An overview of the process is documented in our guide:
I wanted to create a breakdown in more detail so I’ve outlined the keys steps below.
Note: Non-Dell hardware minimum requirements here
Existing Dell hardware – ThinOS 10.x Hardware Compatibility List here
- The Hardware Compatibility List (HCL) identifies all systems that are validated by Dell for use with ThinOS 10.x. ThinOS 10.x can also run on a wide range of Dell and non-Dell commercial client devices that meet the minimum hardware and component requirements.
Steps to follow:
- Download the Dell ThinOS 10 ISO image from here – Sort by Category: Operating System, and look for Offline USB Installer Package or USB Recovery Image. There maybe a newer version but a direct link to v2511 here.
- Use the Dell OS Recovery Tool to create a USB drive for the ISO image following the instructions here
- Boot to the USB key (press F-12 during boot to access BIOS and ensure Boot from USB is enabled as noted here.)
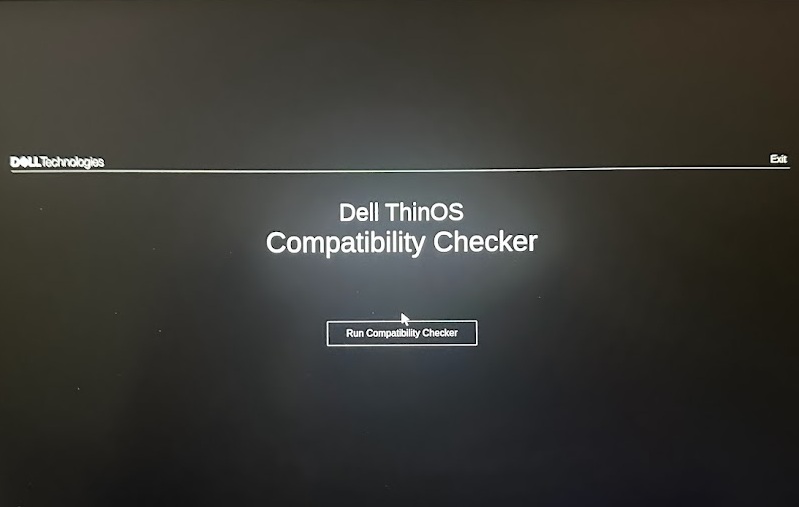
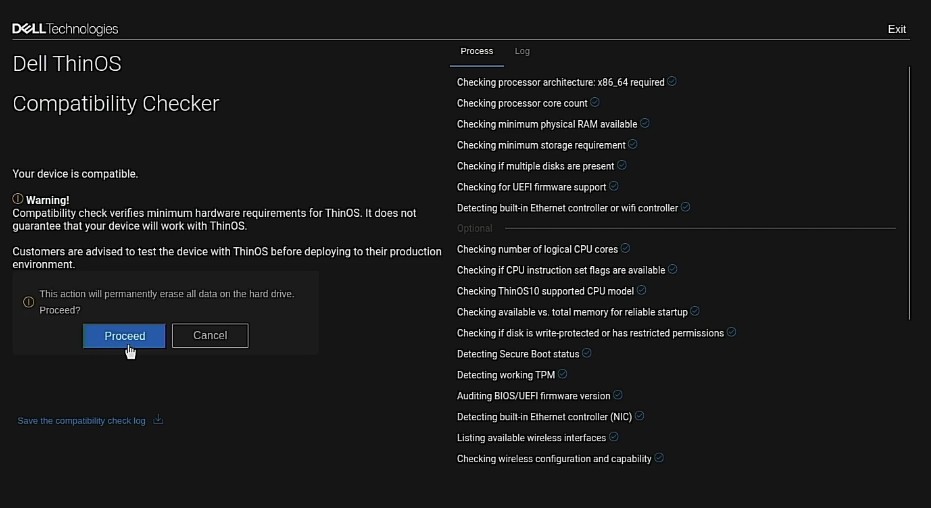
- Once you boot from the USB key, the Dell ThinOS 10 Compatibly Checker will run checking for RAM, storage, etc..
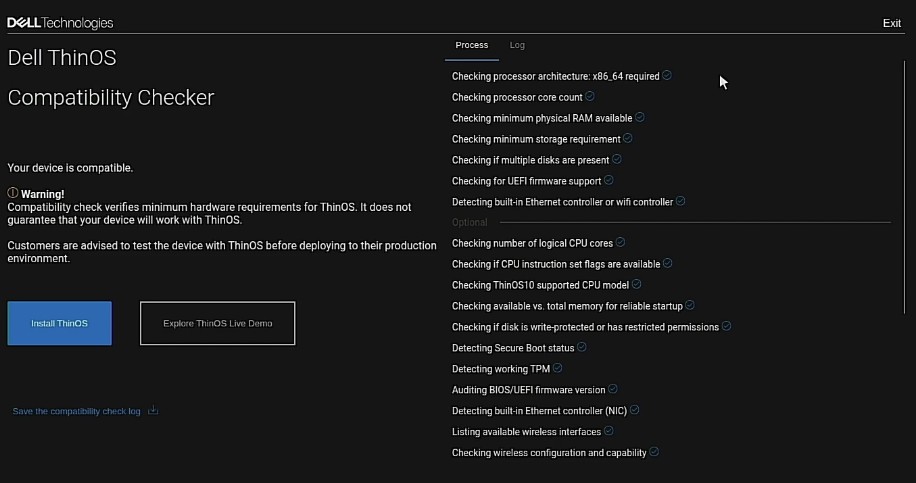
5. Once it passes you have 2 options, as shown above –
- “Install ThinOS”
- “Explore ThinOS Live Demo”
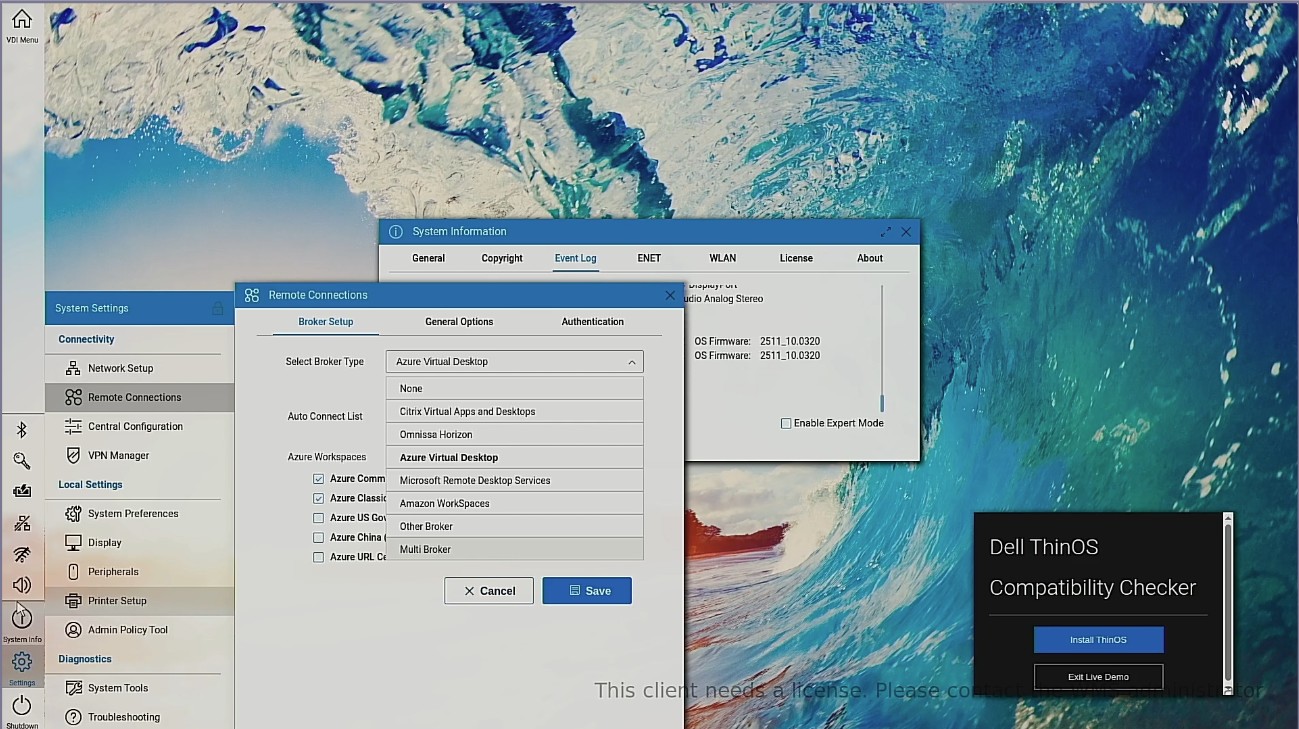
- The Live Demo let’s you explore Dell ThinOS without installing it on the system so you can become familiar with the UI, features, etc… (we also have another way to demo ThinOS here through our Demo Center)
6. Once you are ready to install, click the “Proceed” to install Dell ThinOS on the system.
NOTE: As mentioned below, this will erase all the data on the hard drive and replace with Dell ThinOS.
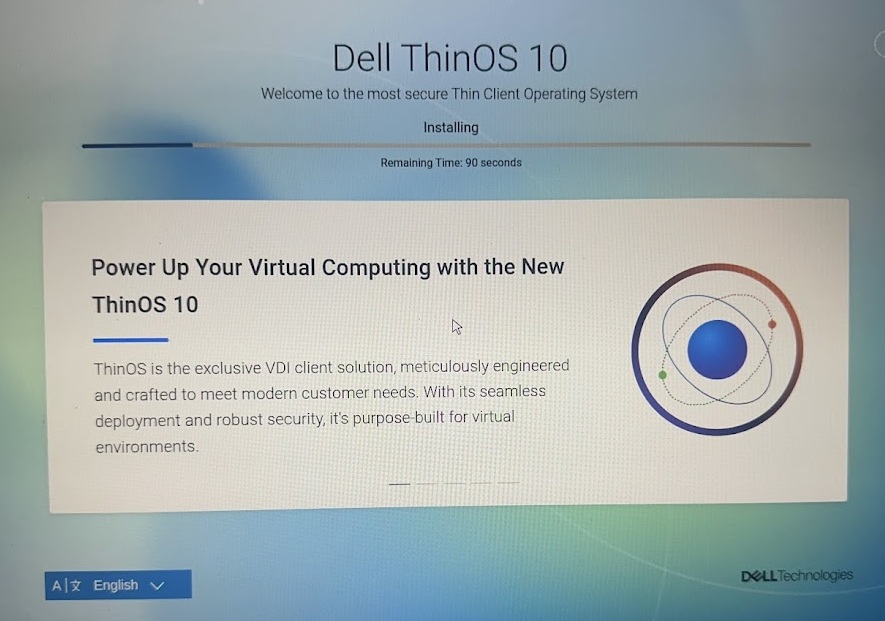
7. The Dell ThinOS installation will start…
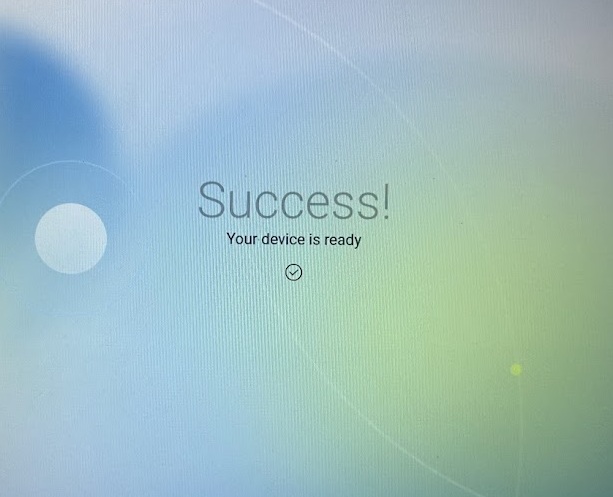
8. Upon completing of installation you should get “Success” screen! After the system reboots you will be brought to the OOBE Wizard screen which is pretty straightforward to complete installation and can learn more here.
9. The final step is to make sure you have the appropriate licenses as noted here and below:
- Dell endpoints
- Devices running Ubuntu 24.04 for Managed Clients or other Dell OS offerings that are converted to ThinOS 10 using Wyse Management Suite (WMS) or BIOS USB Key Imaging require a ThinOS 10 Dell Subscription License.
- This license is managed by the WMS administrator.
- Third party endpoints:
- Devices from non-Dell vendors converted to ThinOS 10.x using BIOS USB Key Imaging require a ThinOS 10 Third-Party Subscription License.
- This license is also managed by the WMS administrator.
Additional Dell ThinOS Resources & Community Resources!
- Getting started with Dell ThinOS documentation here
- Dell ThinOS Documentation
- Dell ThinOS Tech Support Forums
- Dell Technologies User Community (DTUC)
I hope you found this helpful to get started with Dell ThinOS! Let’s connect & subscribe to blog to get latest updates!
-Chris | chris@vditoolbox.com