![]()
In a previous post, here, I covered how to resolve the SSL error message, “SSL Certificate Authority is Unknown” when using ThinOS.
In this post I will cover how to upload SSL certificates into Wyse Management Suite (WMS) and how to assign them to a specific group configuration/profile for ThinOS 8.x and 9.x.
The process is slightly different for ThinOS 8.x & ThinOS 9.x but I will cover both below.
How to upload SSL certificates for use by ThinOS 8.x:
1. In WMS, browse to “Apps & Data”:

2. Scroll down to “File Repository”:
3. Click “Add File” to upload Certificate:

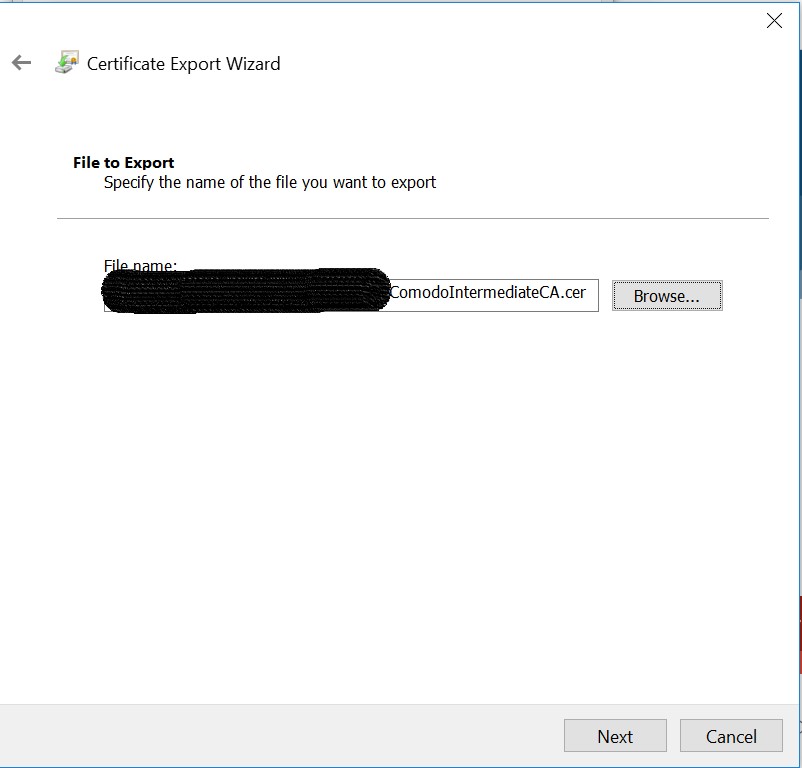
4. Browse out to the Certificates you exported. You will need to do for each Certificate you exported.

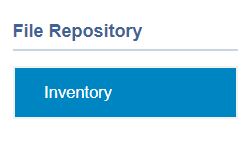
5. Once you click upload it should show up under the ‘Apps & Data – Inventory File Repository”:

How to upload SSL certificates for use by ThinOS 9.x:
-
- In your ThinOS 9 policy, browse to “Privacy & Security\Certificates”. Here you can turn on “Auto Install Certificates” and browse to the certificates you want to upload as shown below:

How to assign SSL Certificates to WMS configuration group/policy:
Once your certificates are imported into WMS, you then need to assign them to your ThinOS profile you are using under, “Groups & Configs” select the group you want to edit following steps below;
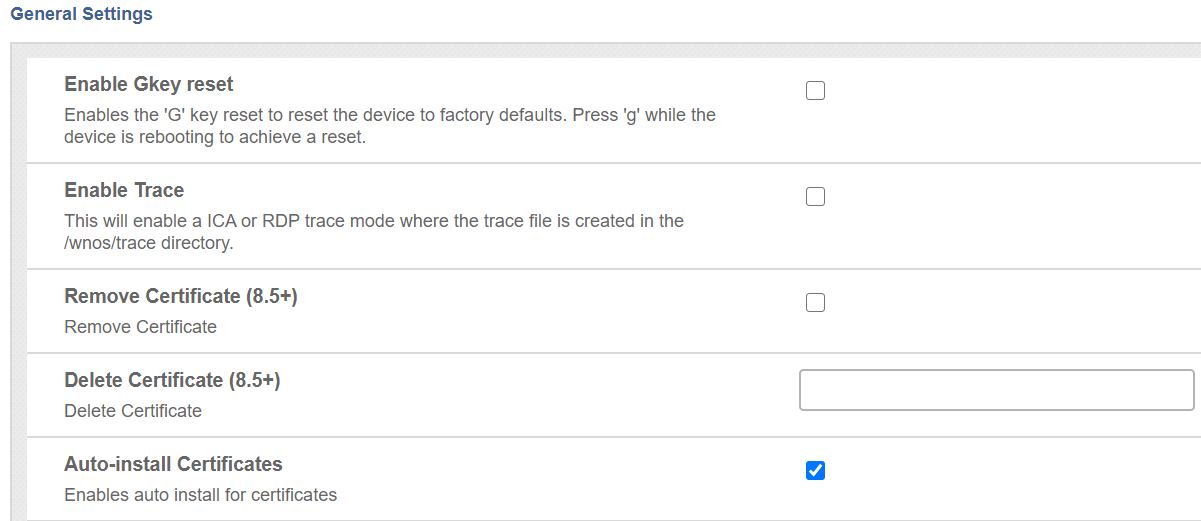
- ThinOS 8.x: in the policy, browse to “Device Configuration\Security\General Settings”. Select “Auto-install Certificates” and your Certificate should show up in the list to select. Once you are done, click “Save & Publish”. The next time the device reboots, it will pick up the new Certificate.
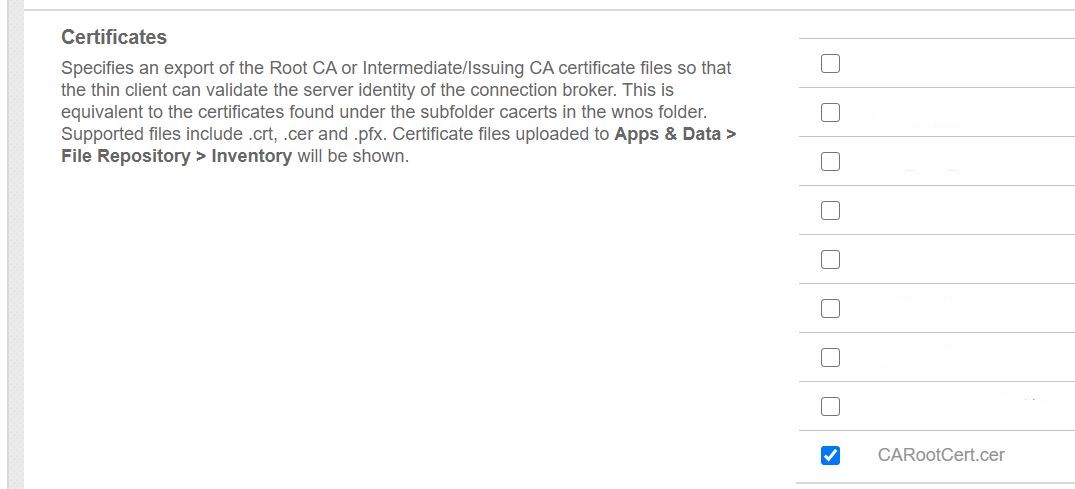
- ThinOS 9.x: in your policy, browse to “Privacy & Security\Certificates”. Here you can turn on “Auto Install Certificates” and browse to the certificates you want to upload as shown below:
This completes the process of uploading your SSL certificates to WMS and assigning them to a ThinOS policy.
For more assistance, check out Dell Community Forums (formally Dell TechCenter):
- Wyse thin client hardware community forums (3040, 5070, 5470 etc..)
- Wyse thin client software community forums (WMS, WDM, PC Converter, etc..)
@chris_messier ~~> Subscribe to blog to get latest updates <~~