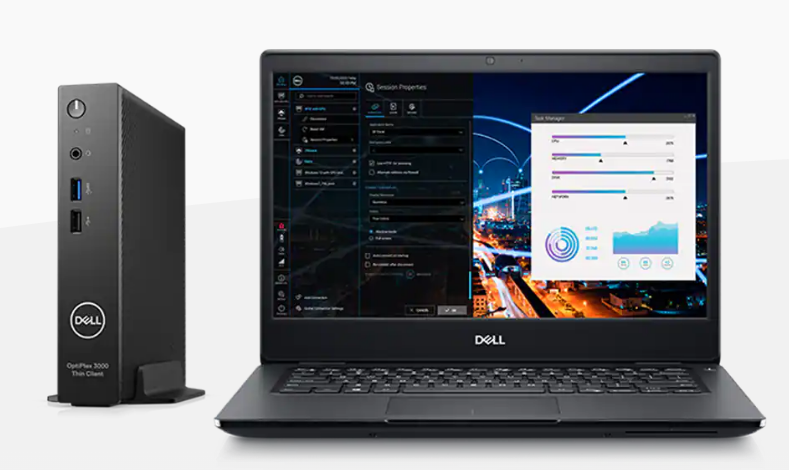
Deploying Azure Virtual Desktop (AVD) in a Kiosk configuration is a common question we get asked when using Dell Windows 10 IoT thin clients.
The idea is when the device boots, it will present only with an AVD login with no other options present on the desktop, start menu, etc… thus creating a locked down kiosk solution.
By default, this is the behavior with ThinOS & AVD since the device is natively locked down. An example of this is outlined in a previous post here.
We can also do the same thing with Dell Windows 10 IoT by using a great Dell utility included in IoT called EasySetup. You can configure this tool in the Wyse Management Suite console and just specify an AVD connections and remove any other options, icons, configuration, etc.. from the desktop of the thin client. These same steps can be used to configure any other VDI connections, i.e. Citrix, VMware, browser icons, etc..
You can configure by following the steps below;
Configure your Wyse Management Suite (WMS) group configuration to launch the AVD client as shown below.
In WMS, select the Group Configuration you want to edit, and select ‘WES’.
2. In the WES WMS configuration group, go to ‘Wyse EasySetup‘ and enable ‘Kiosk Mode‘. Under ‘Applications‘, section give the connection icon a name, i.e. AVD Desktop and under ‘Application Location‘, enter the path to the AVD client, i.e. C:\Program Files\Remote Desktop\msrdcw.exe
Configure any of the optional settings as desired.
3. Once complete with the settings, click ‘Save & Publish‘ at the top of the page to save settings.
4. Once the device boots up and downloads your updated WMS configuration, it will enable the Wyse EasySetup shell and the end result should be the following below.
Note: The File Base Write filter needs to be enabled in order for the Wyse EasySetup shell to be enabled and applied. If not, you will boot to the normal Windows desktop and not see the single icon as shown below.
5. By default, the ‘Wyse Easy Setup’ policy removes many configurations from the start menu so the user can’t access any settings. If you want to enable some specific Start Menu options, Control Panel settings, task bar settings, etc.. you can toggle many of these features on in the ‘Wyse Easy Setup’ policy.
For example, some of the settings you can enable are shown below. These settings are located the same ‘Kiosk Mode’ section shown above. To see more details of the available Wyse EasySetup configuration options search for the latest the WMS administration guide here.
I hope this helps provide some additional information about using the Wyse EasySetup utility to setup an Azure Virtual Desktop connection in Kiosk mode on Windows 10 IoT thin client.
Hope you found this helpful!
Additional Resources:
Prior article on installing the AVD client onto Windows 10 IoT here.
A new Dell Wyse ThinOS enhancement to be aware of is the introduction of a ThinOS Activation License that was introduced as part of ThinOS version 2205 (version 9.3.1129) & Wyse Management Suite 3.7.
This new license is required in certain scenarios as outlined here.
In some cases, you may encounter the following message below:
“Login is denied (ThinOS activation license is not available)”
You will get this for a few reasons as outlined in the release notes here and outlined below.
ThinOS enhancements
Added ThinOS Activation devices licenses in Wyse Management Suite—The licenses must be used in the following two scenarios:
Devices that are converted from other operating systems must use the ThinOS activation licenses to enable VDI function. Without the ThinOS activation license, you cannot log in to any Broker agent on the devices. The ThinOS activation licenses are used automatically when registering to Wyse Management Suite.
For example, you bought Windows 10 IoT/Windows Embedded devices in the past and converted them to ThinOS at one point
If you bought a newer platform, i.e. Dell 3420 thin client laptop and ThinOS was NOT installed at the factory but instead onsite, then you will need the ThinOS Activation license
Non-PCoIP ThinOS clients that are upgraded from ThinOS 8.6 can use ThinOS Activation license to enable the PCoIP function. Go to Services > WDA Settings > Enable PCoIP Activation License to enable this option in ThinOS 9.x policy. Restart your device for the function to take effect
For example, you upgraded ThinOS 8.x without PCoIP and have upgraded to ThinOS 9.x and you use PCoIP with VMware Horizon
Support for Dell Wyse Latitude 3420 Thin Client
You must have ThinOS Activation devices license for Latitude 3420 to enable VDI function
This license takes effect starting with ThinOS 2205/9.3.1129 & Wyse Management Suite 3.7 as noted in the release notes here.
If you are running into this issue after upgrading to ThinOS 2205, you may need to reach out to your Dell account team to likely purchase the appropriate ThinOS Activation License if you fall into one of the categories.
Alternatively, you can roll back to prior versions of ThinOS until you identify the reason you are getting this license message & purchase the proper ThinOS activation license(s).
The new ThinOS Activation License is discussed in greater detail here, Dell ThinOS – Installation & Activation License User Guide. This document also covers installing ThinOS on newer hardware manually such as the Wyse 3420 thin client laptop IF it is not pre-loaded at the factory.
If you use WMS on prem you will need to export your ThinOS Activation License from WMS Cloud to WMS on prem server as noted here.
Wow!! The Dell VDI product team has been busy at work and released a bunch of new updates that I wanted to share!!
They released some great content around Microsoft Azure Virtual Desktop on Azure Stack HCI & some new design and implementation guides for Citrix & VMware.
You can access all this great content here or some direct links below – enjoy!!
The latest release of Wyse Management Suite, 3.6, is out! I put together a brief summary of the installation process if installing locally on a Windows 2019/2016/2012 server. Alternatively, WMS can also be run as a hybrid cloud solution as noted here. Enjoy!
You can download Wyse Management Suite v3.6 from here along with documentation and release notes here.
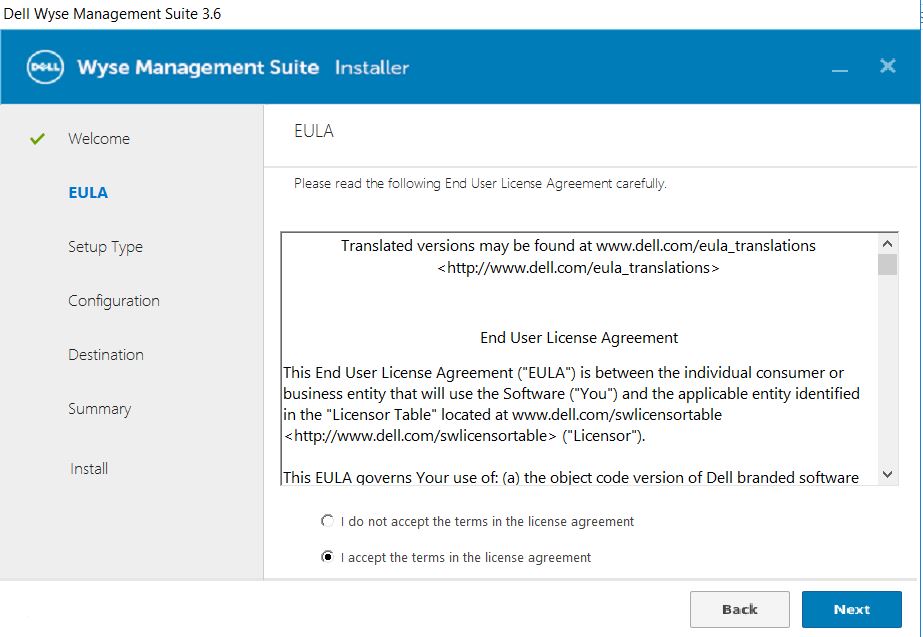
Launch the installer, WMS_3.6-xxx.exe and click ‘Next’ to begin
2. Accept EULA and click ‘Next’
3. Choose Typical or Custom and be sure to check off ‘Turn off IE Enhanced Security Configuration’ then click ‘Next’. I selected Typical for this standard install.
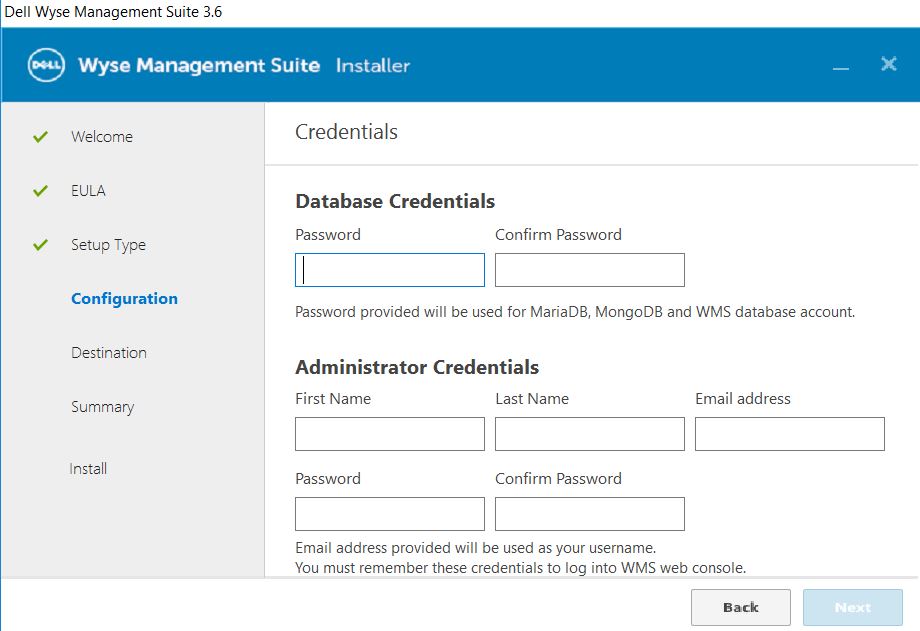
4. Provide credentials for both database access and administrator credentials. Note: The administrator credentials will be the login credentials you’ll use to log into the WMS console.
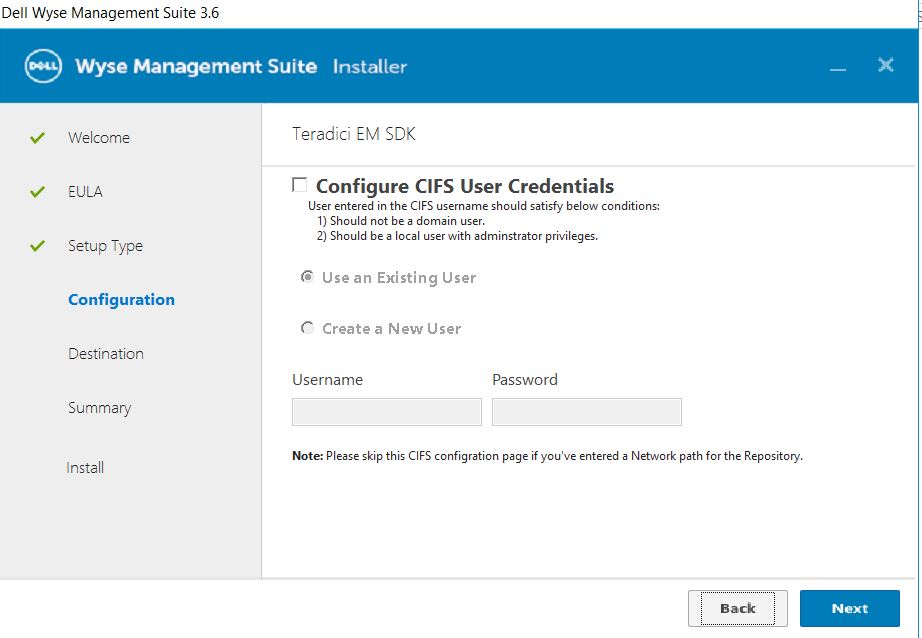
5. I clicked ‘Next’ past this section as it’s specific to using Teradici zero clients which I’m not using. If you are, see more info at page 15 here
6. Select an option to create the WMS service account from the below options.
7. Provide credentials for the Software Vault as noted below.
8. Click ‘Next’ to accept the default security configuration
9. Select the installation and repository location as noted below
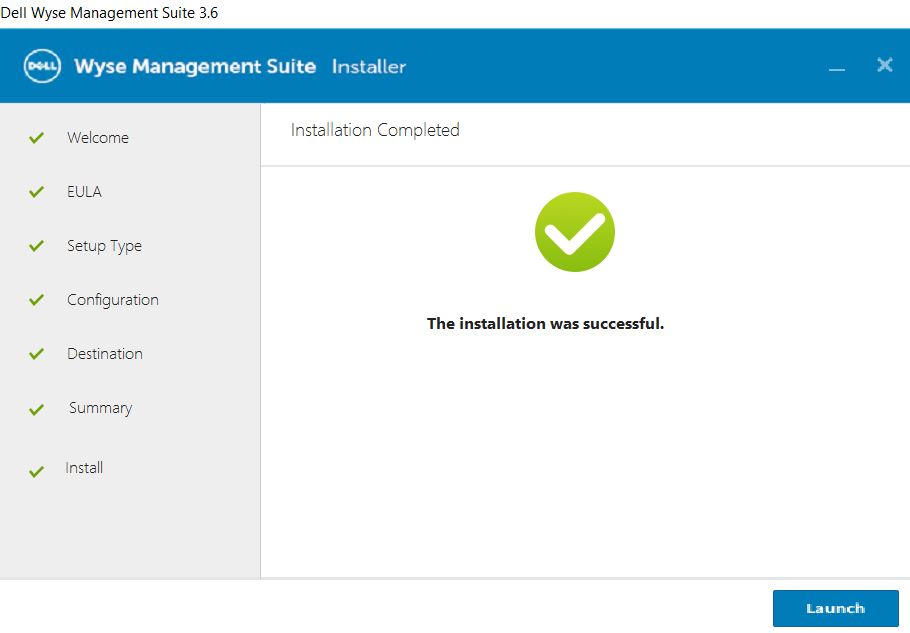
10. Once you click ‘Next’, the installation will start!!
11. Once install finishes, click ‘Launch’ at the end and a wizard will finalize the install. You can see more of these final steps here starting at Step 14.