![]()
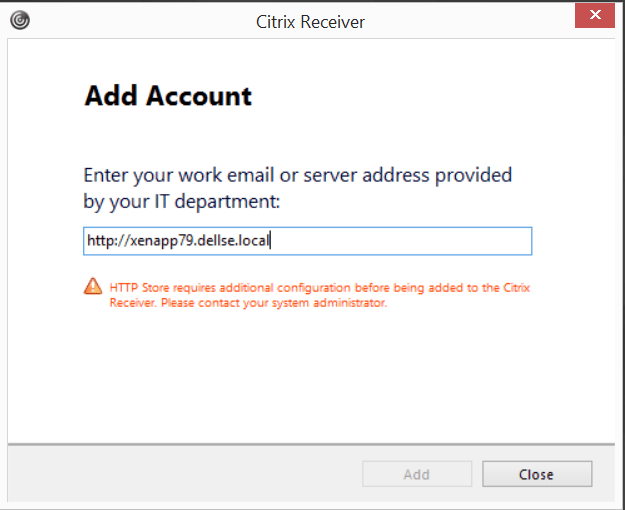
“SSL Certificate Authority is Unknown”
A common issue connecting to a VDI connection broker, i.e Citrix, VMware, etc.., from Dell Wyse ThinOS or any thin client, is an SSL certificate error. There are generally 2 reasons why.
- the Root Certificate Authority certificate is not installed on the device
- the Intermediate Certificate Authority certificate is also not installed on the device
Error: SSL Certificate Authority is Unknown

This is easily fixed by installing both the missing Root and likely the Intermediate certificate.
To do this, you can simply export from a browser, and then import on the device, generally through Wyse Management Suite (WMS) or even a USB key if you had to.
I will cover the 3 step process to fix this.
- Export the required certificates from a browser
- Upload into Wyse Management Suite
- Assign the certificates to the device profile
Steps to export certificate from browser:
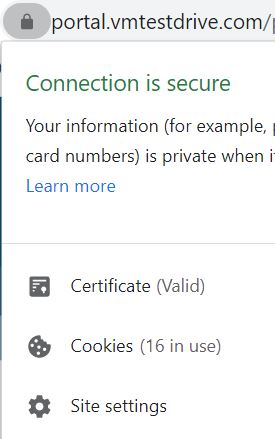
- In this example, I used https://portal.vmware.com as an example to work with certificates but this would be your VMware Horizon server, Citrix Storefront site, Citrix Netscaler/ADC, Microsoft Azure MFA site, etc…
- Click on the SSL padlock on your browser as shown below to bring up below window. Click on ‘Certificate (Valid)’ field.
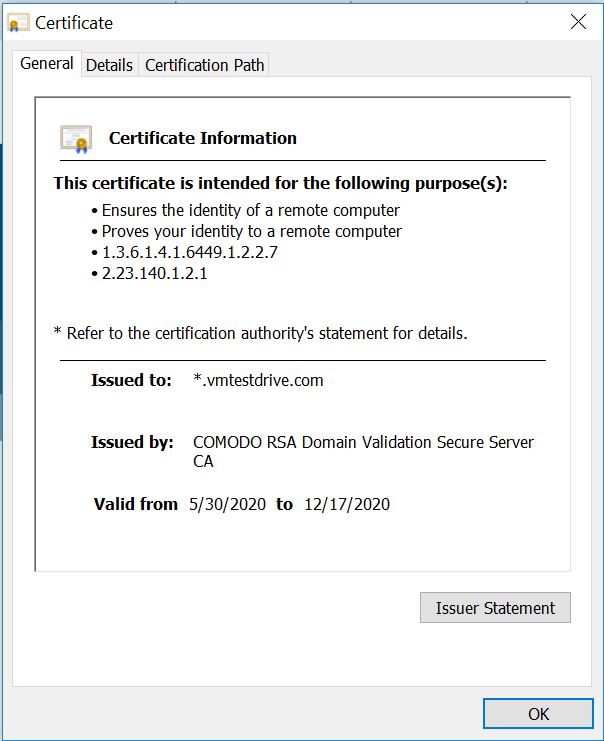
3. This will bring up the certificate information:
4. Click on “Certification Path” tab bring up the following:
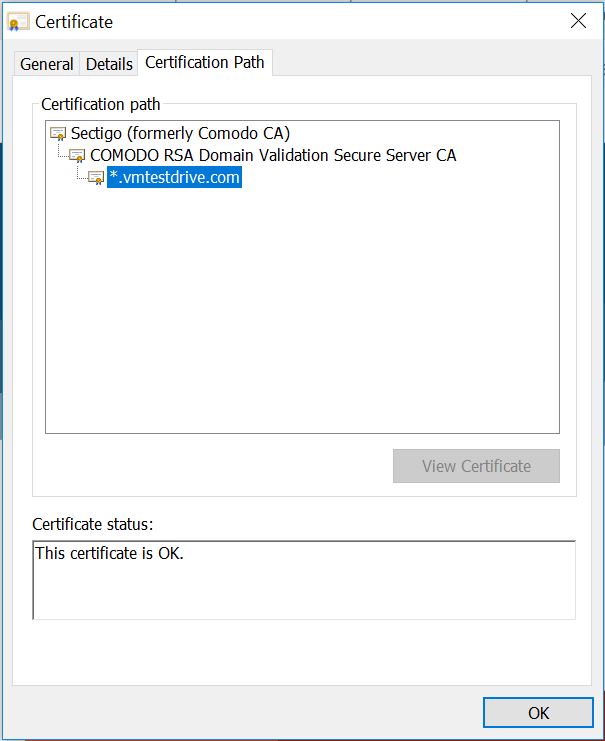
5. Select the top level certificate, in this case, “Sectigo (formally Comodo CA)”

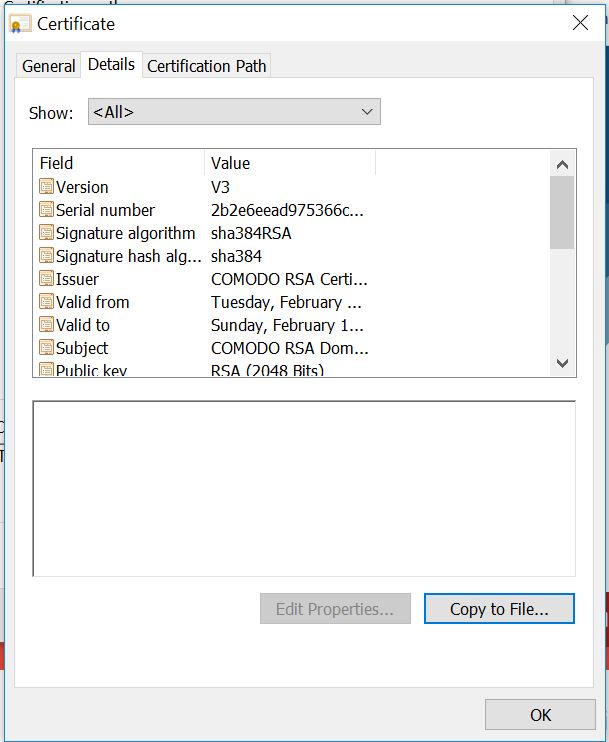
6. This will bring up the Root certificate as shown below, “Comodo RSA Certification Authority”. This is the first certificate we want to export.

7. Click on the “Details” tab and select, “Copy to File”:

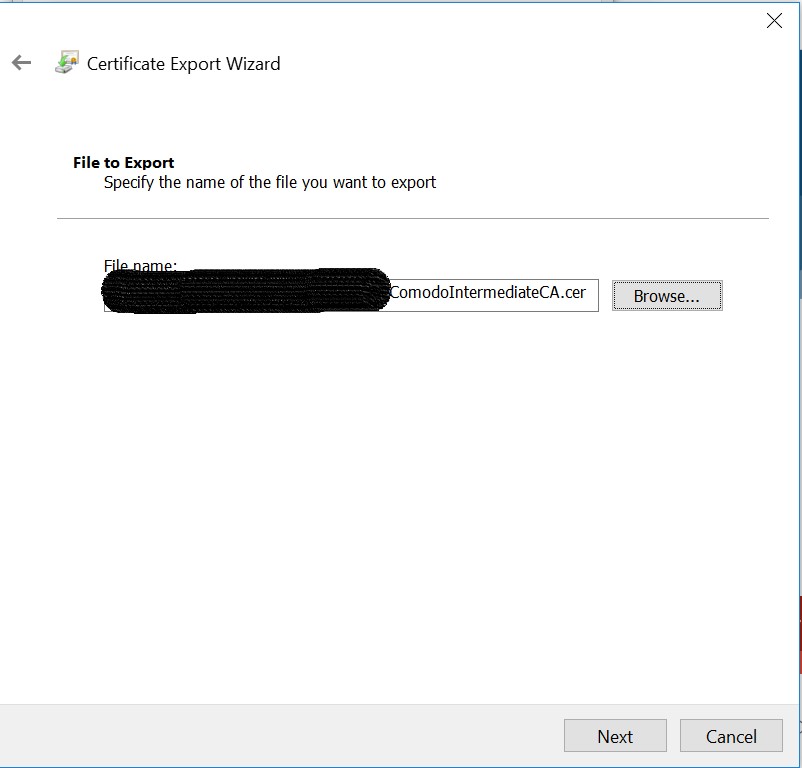
8. Take defaults and follow the wizard to export the certificate:


9. Once you export the top level Root Certificate, follow the same steps to export the Intermediate certificate. This Intermediate is chained, or trusted, by this top level Root Certificate so we need both certificates in this chain.
10. In the browser, select the Intermediate Certificate, “COMODO RSA Domain Validation Secure Server CA” and select “View Certificate”:


11. Select “Details” and “Copy to File” to export the certificate:
12. Follow wizard again to export the Intermediate Certificate:
13. You now have successfully exported both the top level Root Certificate, “Comodo RSA Certification Authority”, and the Intermediate Certificate, “COMODO RSA Domain Validation Secure Server CA”.
Once exported you need to upload them into your WMS server. It’s a simple process and the steps to upload the certifications are outlined here. Once complete, resume to step 15 below to assign the certificate(s) to your group configuration/profile.
15. Once certificates are imported into WMS, you then need to assign them to your ThinOS profile you are using under, “Groups & Configs” select the group you want to edit following steps below;
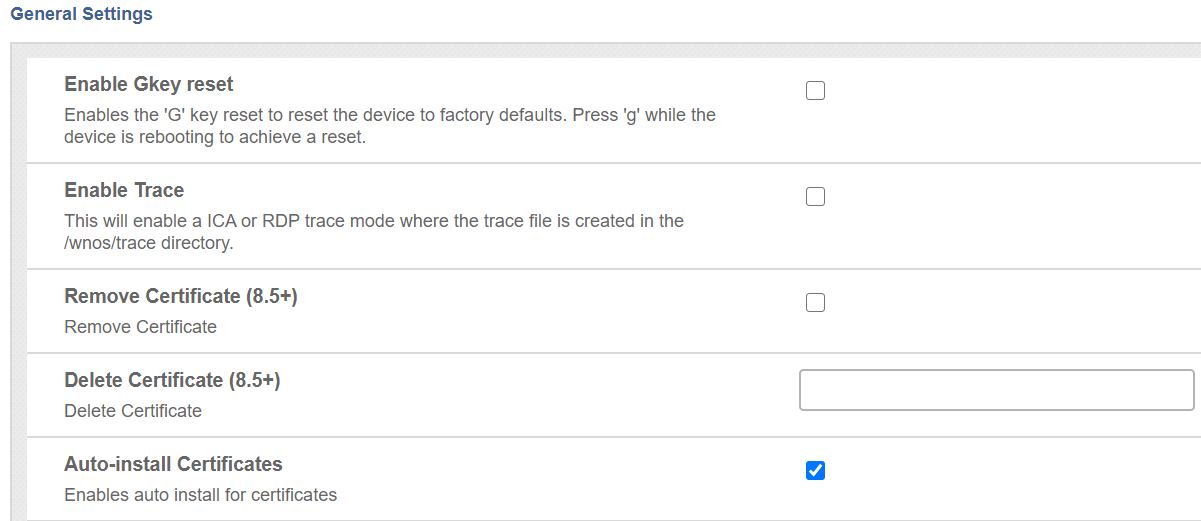
- ThinOS 8.x: in the policy, browse to “Device Configuration\Security\General Settings”. Select “Auto-install Certificates” and your Certificate should show up in the list to select. Once you are done, click “Save & Publish”. The next time the device reboots, it will pick up the new Certificate.
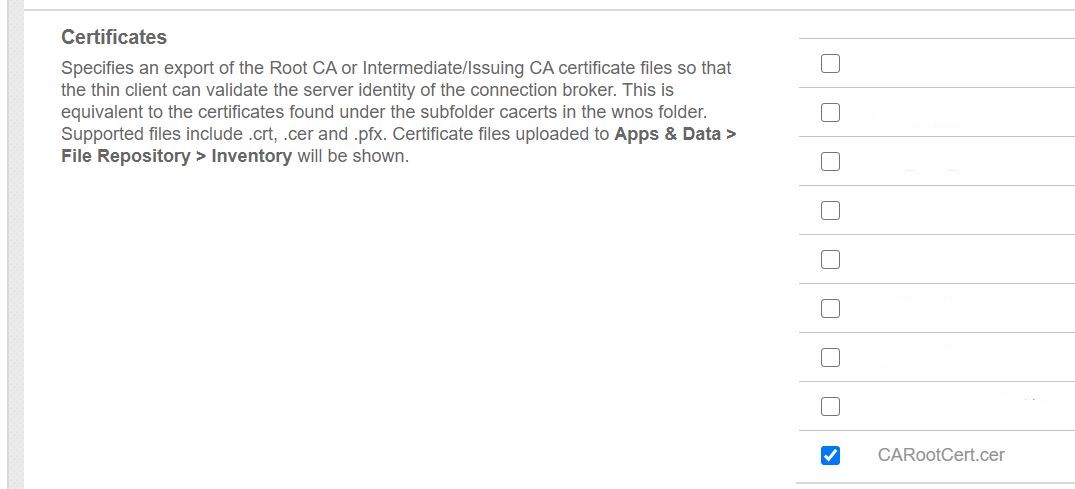
- ThinOS 9.x: in your policy, browse to “Privacy & Security\Certificates”. Here you can turn on “Auto Install Certificates” and browse to the certificates you want to upload as shown below:

This completes the process of exporting the SSL certs, uploading to WMS, and assigning them to your profile. This should resolve the issue of “SSL Certificate Authority is Unknown”.
For more assistance, check out Dell Community Forums (formally Dell TechCenter):
- Wyse thin client hardware community forums (3040, 5070, 5470 etc..)
- Wyse thin client software community forums (WMS, WDM, PC Converter, etc..)
@chris_messier ~~> Subscribe to blog to get latest updates <~~